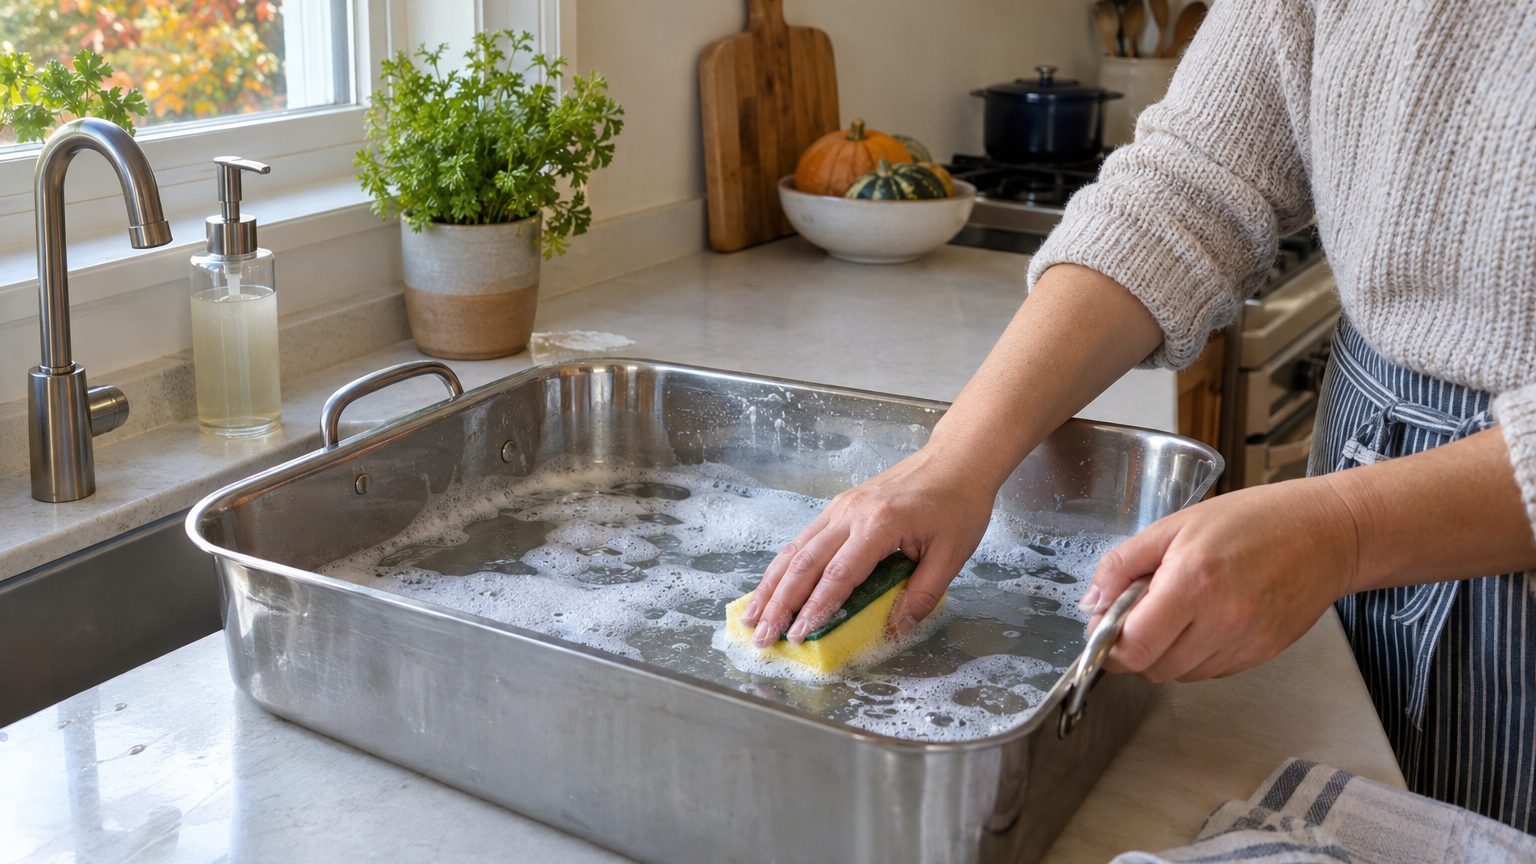
Knowing how to clean a roasting pan starts with accepting one thing: patience beats muscle. The brown crust left after a roast is polymerized fat, and scrubbing harder mostly polishes it instead of lifting it. Chemistry and time do the work. Your wrist doesn’t have to.
- Burnt roasting pan residue is polymerized fat that hardens as it cools and dries.
- Hot water with dish soap added right after roasting prevents most stubborn buildup.
- Baking soda paired with 3% hydrogen peroxide outperformed other methods in side-by-side testing.
- Never mix vinegar and hydrogen peroxide, because the combination creates a corrosive acid.
The first ten minutes decide how hard the next hour will be
Most burnt-on messes were avoidable. Drippings are easy to dissolve while the pan is still warm, and they turn to cement once they cool and dry. Pour in a few cups of hot water with a squirt of dish soap right after you move the roast to the cutting board, and let it sit while you carve.
Warm, not scorching.
Cold water on a pan straight from a 425°F oven can warp thinner aluminum pans, and it can crack the glaze on enamel. Wait until the pan is merely hot to the touch, then add the hot soapy water. If the pan is already crusted over, soak it for 15 to 30 minutes in hot water and dish soap before trying anything stronger. That step alone loosens the top layer of residue.
Check what your pan is made of before you reach for a scrubber. Stainless steel forgives almost everything. Enamel-coated steel chips if you attack it with metal. Bare aluminum can darken with harsh treatment, and a nonstick surface scratches with any abrasive. The rest of this article adjusts for each.
Three pantry methods, from gentle to heavy duty
The mildest option is an overnight soak. Mix about a quarter cup of dish detergent with a quarter cup of baking soda, spread it across the bottom of the pan, and fill with hot water. In the morning, pour it out and wash as usual. It’s slow, but it asks nothing of you except forgetting the pan until breakfast.
For a faster fix, use baking soda and white vinegar. Sprinkle about half a cup of baking soda over the pan, pour in half a cup of vinegar, and let it fizz for a few minutes. Then add hot water and soak for 15 to 30 minutes. You don’t need to rinse the foam away first. Because the mixture has already loosened the residue, the scrub that follows is short.
The fizz looks dramatic, but it’s brief.
That’s why the heavy-duty option is baking soda with hydrogen peroxide, the standard 3% bottle from the drugstore. In one side-by-side test of five methods on an evenly grimy sheet pan, this pairing won. The tester sprinkled baking soda over the surface, sprayed peroxide until every grain was wet, and left it overnight. A plastic scraper then pushed the spent paste into the trash, and a scrubby sponge with warm soapy water finished the job.
If you can’t wait overnight, a thicker mix works in about an hour. Stir together one cup of baking soda, roughly six tablespoons of peroxide, and a teaspoon of dish soap until it turns goopy. Coat the inside, flip the pan to coat the outside if that’s grimy too, and wait. The baking soda makes the paste alkaline, which activates the peroxide, and the dish soap carries the loosened gunk away. Home cooks also commonly use a 1:1 ratio of baking soda to peroxide.
One rule is non-negotiable here. Never combine vinegar and hydrogen peroxide in the same mix, even With Baking Soda in the bowl. Mixing the two creates a corrosive acid. Choose one method per session and rinse the pan well between attempts.
Neither ingredient is strong alone, which surprises people. In a head-to-head test, baking soda and water by themselves struggled with heavy staining, and peroxide alone lacked the punch to lift it. The combination does what neither can.
Match the method to the metal
Stainless steel tolerates the most aggressive approach. Coat the pan generously with baking soda and scrub thoroughly with a scouring pad. For stubborn stains, follow with the peroxide paste. A roasting pan with a rack leaves burnt spots in the corners and at the base of each rack contact point, so work a toothbrush into those spots.
Enamel calls for restraint. Make a paste of dish soap and baking soda, spread it over the burnt areas, and scrub with a non-scratching sponge. Steel wool will leave dull gray streaks on the glaze, and those scratches also give food a place to stick next time. If a mark survives, let the paste sit longer rather than pushing harder.
For aluminum, there’s a trick worth knowing. A crumpled ball of aluminum foil dipped in baking soda and a little water works as a gentle scrubber, and it won’t gouge the pan. Reposition the foil as it flattens. Keep soaks short, though, because strongly alkaline mixtures left on bare aluminum for hours can dull or darken the finish. Nonstick pans should skip the peroxide treatment entirely, since any abrasive risks the coating.
Electric roasters follow different rules. Lift the removable pan out of the heating base, and never submerge the base itself. Fill the pan halfway with hot water, two tablespoons of dish soap, and a cup of lemon juice. After it drains, a sprinkle of baking soda with a splash of lemon juice tackles whatever remains. Wash the lid and any accessories last, using baking soda on burnt spots there too.
Keeping the next roast from welding itself on
Lining the pan with foil or parchment is the cheapest insurance available. It catches sugary glazes, which are the worst offenders because they caramelize and then carbonize. Use parchment only where the recipe’s temperature allows, since it has a maximum rating that varies by brand. Check the package.
Adding a half inch of water or stock to the bottom of the pan during a long roast also keeps drippings from scorching into a hard film. And skip the dishwasher for aluminum and enamel unless the manufacturer says it’s safe, because detergent can cloud both.
Here’s one last detail from the testers’ notes. Cleaning methods that look unbeatable on a sheet pan often take longer on a deep roaster, because the corners trap more residue than a flat surface does. Expect to run a second round on the heaviest burns, and treat that as normal, not as failure.
Sources : diysolvr.com | allaroundthefood.com