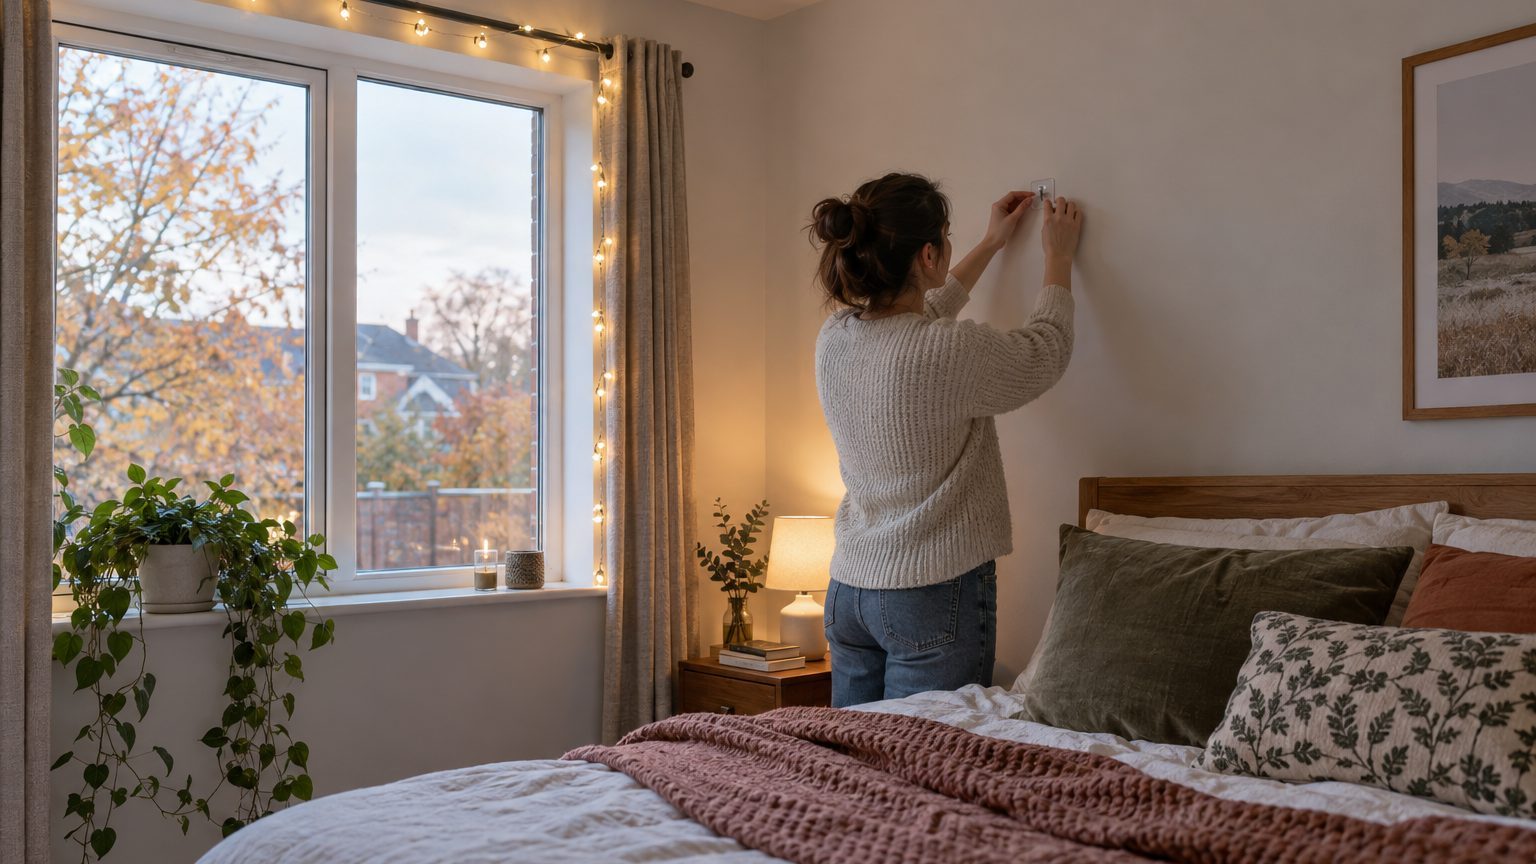
The safest way to hang Christmas lights in a bedroom is with removable adhesive hooks, clear clips, or a tension rod. Nails don’t belong on the list. The Consumer Product Safety Commission’s holiday decorating guidance warns against nails and tacks and suggests hooks instead. That advice protects your paint and the wire insulation at the same time.
Bedrooms make the job trickier than a living room.
The ceilings are often textured, the walls freshly painted, and the lights run all night within reach of bedding. Getting how to hang Christmas lights in a bedroom right means choosing the lights, the hardware and the layout together, not one after another.
Start with the lights, not the hooks
Check the box for a lab mark before anything else. The CPSC says to use only lights tested by a recognized testing laboratory, such as UL or ETL, whether indoors or outside. If a strand from last year has cracked sockets, bare wire or loose connections, replace it. A frayed cord that was fine in a garage box becomes a different problem six inches from your pillow.
LED strands are the sensible default for a bedroom. They run at lower voltage than incandescent sets, which also means they stay cooler against fabric. Don’t plug the two types into each other, because incandescent strings draw more power and can overload the wiring of an LED set. And if you do own older incandescent sets, the CPSC says never to string together more than three.
Measure the wall before you buy a single strand.
A 20-foot string looks generous in the store and sad over a king-size headboard, while 50 feet bunched into a corner looks like a tangle. Sketch the route first, whether that’s a straight run above the bed, a zigzag, or a loop around a window. Then you’ll know whether you need one strand or three, and how many hooks to buy.
Adhesive hooks, done properly
Most failures come from skipping the prep. Clear adhesive hooks with removable strips suit painted walls, finished wood, glass, metal and tile. Wipe the spot with rubbing alcohol first, press each hook firmly for about 30 seconds, then wait 24 hours before hanging the lights so the adhesive can bond fully. Paint is the other trap: avoid freshly painted surfaces, and give new paint at least 30 days.
Spacing depends on the weight of the strand. Guides vary, from 6 to 12 inches apart for a tidy, taut line to 12 to 18 inches for a looser, draped one. Lightweight LED wire can stretch toward the wider end. Heavier bulb-style strings, the old-fashioned kind with big globes, want the closer spacing.
Pull the tab straight down, slowly, when the season ends.
Textured walls and popcorn ceilings are where adhesive gives up. Standard adhesive hooks may not stick well to uneven surfaces. On those, switch methods: a tension rod, or a lump of removable mounting putty if the surface is wallpaper. Low-tack putty or removable strips help wallpaper avoid peeling. Test one hook in a closet or behind a door a week before you commit the whole room.
Ceilings, headboards and windows without the holes
A tension rod is the quiet hero of damage-free lighting. Lights hang on rods between walls for a zero-damage installation. Wedge one across a window frame, an alcove or a closet opening, loop the strand along it, and you have a glowing curtain of light with no hardware in the wall at all. In a rental, that matters.
For headboards, skip the wall entirely. Weave lights through the slats, or use removable hooks on the sides. A slatted or rattan headboard holds a strand almost on its own, and the lights move with the bed if you rearrange the room. On glass, such as a mirror or window, suction cup hooks work well.
Ceilings are the real dilemma. Adhesive clips along the ceiling edge or the top of a bookshelf work for light strands. If you want a canopy effect, the sturdier route is small eye screws, and those go into ceiling joists, found with a stud finder. That leaves a tiny hole, which a dab of spackle erases in January. It’s the one compromise I’d accept, because a canopy drooping onto a sleeper at 3 a.m. is worse than a pinhole.
Before sticking anything, run a strip of painter’s tape along the planned path. Marking the route with removable painter’s tape lets you see the line from the bed, the door and the hallway, and adjust it before the adhesive commits you. Photos clipped to the strand with clothespins, attached with removable clips, turn the same string into a memory wall.
Bedroom rules that keep the glow safe
The most important rule is the simplest. Turn off all holiday lights when you go to bed or leave the house, because they could short out and start a fire. A plug-in timer set to switch off an hour after lights-out makes that automatic. Battery-powered LED strands with a built-in timer solve the outlet problem too.
Outlets deserve a glance as well. Follow the package directions on how many light sets can share one socket. Never nail, tack or stress the wiring, which includes pulling a cord taut around a sharp corner or pinching it behind a dresser. Leave slack at the plug end so nothing tugs on the connection.
The hanging itself carries risk. The CPSC counts an average of 200 decorating-related injuries each day during the holiday season. Many involve ladders and chairs. Don’t stand on furniture or anything not meant for climbing, and use a proper step stool, even for a ceiling run that looks barely out of reach.
One last detail pays off in January. If you hang the hooks this weekend and give the adhesive its full 24 hours, the lights can go up whenever you’re ready, and the same hooks should peel off cleanly when the season ends.
Sources : alibaba.com | ecoflow.com