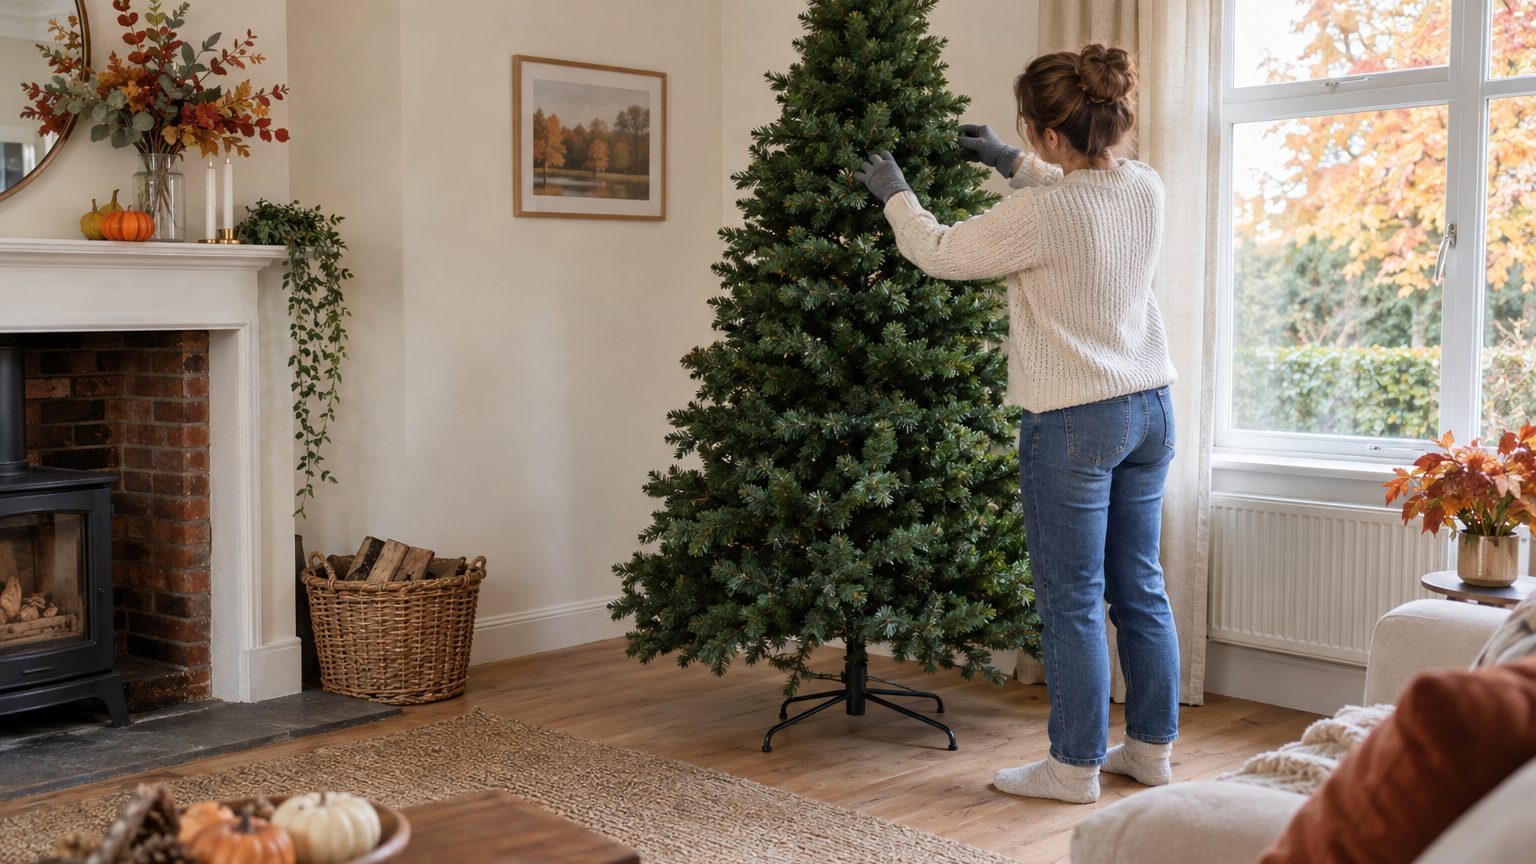
Fluff the first tree section before adding the next, working from the bottom to the top and starting with the branches closest to the trunk. That sequence is the whole method. It turns a squashed, just-unboxed tree into something close to a forest cutting. Expect anywhere from under an hour for a modest tree to two or three hours for a tall, dense one.
Boxed branches arrive compressed and pointing the same way.
Set up before you fluff
Choose the spot first. Artificial trees are more difficult to move once they’re set up, and nobody wants to drag a six-foot cone across the living room rug after the branches are spread. Gloves and long sleeves help too, because the bristles can feel sharp and your hands can get sore. Lightweight rubber-coated gloves also keep the branches from snagging.
Next, check what storage did to the tree. Take note of any bent or broken branches, and on a pre-lit model, plug the sections together and check the lights before beginning assembly. A dead strand is far easier to deal with before the branches are fanned out around it. While you’re at it, wipe the branches with a damp cloth, since dust and debris collected in an attic or basement become dangerously flammable when combined with string lights.
Bottom to top, inside out
Insert the bottom section into the stand and let the branches fall open. Then pull each whole branch downward and give the tree a few minutes to relax into position. Start in the middle and fluff at random, and you’ll lose track of where you’ve already been, then redo the same branches again and again.
Work from the inside out. Reach right in beside the pole, because the inner layers are where the work begins, and move toward the tips. Twist individual branches upward and outward in alternating directions, so that each sits at a slightly different angle from its neighbors. Think of blow-drying hair with a round brush: lift at the root first, and the ends take care of themselves. Many trees carry three branches per main stem, so fan each one separately, not as a clump.
Spreading only the visible outer branches still leaves the tree looking hollow.
The same goes for the tips. Separate the tips from the main branch; fanning them out only horizontally leaves the tree less lush and full. Pull some up and some down, and slightly curve a few branches. Trees look artificial when every branch sticks straight out at the same angle, while a slight curve softens the silhouette.
Save the top for the ground. If your tree is taller than you, fluff the top section on the floor before adding it, which spares you a wobbly stepladder and awkward reaching. The small branches near the peak should point toward the ceiling in gradually steeper angles. Every few minutes, step back and view the tree from a distance, checking for gaps or uneven areas.
One exception: some trees use molded, natural-looking tips attached to a separate wire back branch. Don’t pull those molded tips downward the way you would a simple wire branch. Check the manufacturer’s instructions if the tips look different from the rest of the branch.
Gaps, lights and safety
Gaps that survive the first pass usually need hardware, not more tugging. Bend branches slightly upward and outward for a fuller silhouette, and add picks or garlands to fill any noticeable holes. Turned-up branches also make good perches, since heavy ornaments on upward-turning branches are less likely to slide off and get damaged.
Fluffing opens the tree up, which makes it a good moment to think about fire. Artificial trees pose a fire hazard much like cut ones, because their thin needles are spaced to allow rapid fire growth. Look for a tree that is labeled, certified or identified by the manufacturer as fire-retardant. Then check the placement: keep it at least three feet away from heat vents or other heat sources. Heat sources placed too close caused 22% of home Christmas tree fires, and electrical problems are the source of nearly half.
Don’t aim for perfect symmetry.
Perfection is the giveaway: perfectly uniform branches can make an artificial tree appear flat. A little irregularity (one branch drooping, one jutting out) is what a real tree looks like.
The payoff comes next November. Don’t try to cram the tree back into its original box; use a tree-storage bag instead. You’ll still have to fluff, though hopefully less than when it came fresh out of the box. Squeezing branches into a tight carton is what flattens them in the first place.
Sources : aol.com | extinguishingornaments.com