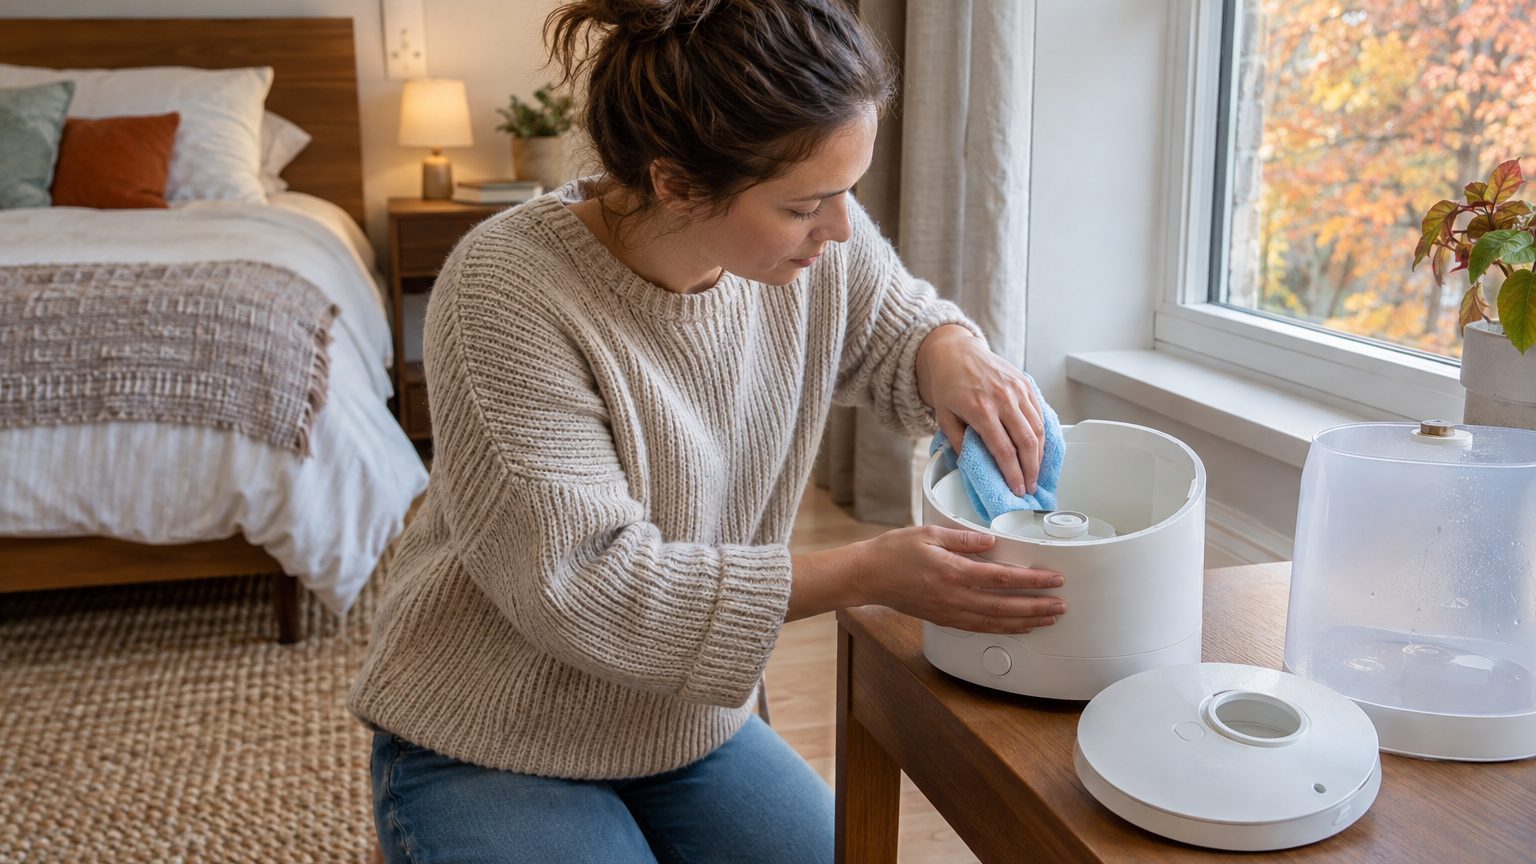
The EPA’s advice for portable humidifiers is simple: empty the tank, wipe all surfaces dry, and refill it daily, then clean the unit every third day to reduce the buildup of scale and microorganisms. Knowing how to clean a humidifier matters most in the bedroom, where the mist runs for eight hours a night within a few feet of your pillow.
Most people wait until something smells.
- Empty, dry and refill the tank daily with fresh water.
- Soak the base and parts in undiluted white vinegar for 30 minutes.
- Disinfect with a manufacturer-approved solution, then rinse until no smell remains.
- Clean every third day and do a full descale before each heating season.
Why the bedroom unit gets dirty so fast
Tap water carries dissolved minerals, and a humidifier concentrates them. Mayo Clinic notes that these minerals can allow bacteria to grow inside the unit and often show up as white dust on your furniture. Standing water does the rest: it provides an ideal environment for bacteria to grow rapidly.
The risk isn’t evenly spread across models. Mayo Clinic singles out cool-mist and ultrasonic units, where emptying the tank, drying the inside and refilling with clean water every day matters most. Warm-mist models boil their water, which helps, but they scale up just as readily around the heating element. And a unit crusted with scale does less than you’d think. Mineral buildup can stop the mist altogether, so a humidifier can hum away all night while adding almost no moisture.
Distilled water fixes half the problem before it starts.
The warning signs are easy to spot once you look. A musty odor, visible mold or deposits inside, and reduced mist output all mean the unit is overdue. Slimy film on the tank walls, usually pink or gray, counts too.
Descaling: where the vinegar earns its keep
Start by unplugging the unit. Let it cool if it’s been running, then remove and empty the tank, drain any water left in the base, and pull off whatever parts come off, including the filter in an evaporative model. If you see slime, wipe it away with a paper towel before anything else goes in.
Then comes the descaling. For the base, pour in undiluted white vinegar until it covers the scaled surfaces, and drop the small parts into a bowl of it. Let everything soak for 30 minutes. The tank can take equal parts white vinegar and water for the same 30 minutes, which is plenty for light scale and gentler on plastic seals. Think of it as descaling a coffee maker, only with a lot more plastic.
While things soak, scrub. A soft bottle brush or old toothbrush reaches the corners, and on ultrasonic models, a cotton swab works around the nebulizer to lift mineral deposits. Vicks also says to never run the unit with vinegar still in it. That includes the “quick test” many people are tempted to do.
Stubborn scale needs more time, not more force.
Metal scrapers and steel wool scratch the plastic, and scratches give biofilm a place to cling. If a ring of limescale survives the first soak, refill with vinegar and walk away for another half hour. Vicks suggests a longer soak when mineral buildup is heavy.
Disinfecting without breathing the cleaner
Vinegar dissolves scale. Disinfecting is a separate step, and manufacturers disagree on how to do it. Mayo Clinic points to a 3% hydrogen peroxide solution from the pharmacy, noting that some manufacturers recommend chlorine bleach or other disinfectants. It also cautions against adding anything to the water or using disinfectants that aren’t approved.
The bleach ratios show why the manual matters. Vicks calls for ½ teaspoon of bleach in ½ gallon of water, left to sit for 20 minutes, while a Home Depot guide uses 1 teaspoon of bleach in a tank of fresh water. Neither is wrong for its own product, but a more concentrated mix on the wrong plastic can cloud or weaken it. Check your model’s instructions first.
Never combine bleach and vinegar. The mix releases chlorine gas, so rinse the vinegar out completely and run the disinfectant as its own round.
Rinsing is where most people cut corners. Mayo Clinic is explicit that rinsing the tank after cleaning keeps harmful chemicals from becoming airborne and inhaled, which is a real concern in a closed bedroom. Rinse until you can’t smell bleach or vinegar. Then wipe the tank and base dry and let the parts air out before reassembling. A damp, sealed tank is an invitation for the very mold you just removed.
A schedule that survives the heating season
Three tiers cover it. Daily, empty the tank, wipe it dry and refill with fresh water. Every third day, do the soak, scrub and rinse described above. Before the first cold snap and again when you put the unit away, take everything apart and descale thoroughly, checking the seals and any wick for cracks or stains.
Filters follow their own clock. Mayo Clinic’s guidance is to change them at least as often as the maker suggests, and sooner if they look dirty. One consumer guide puts it at a fresh filter every one to three months depending on use. A filter that has gone stiff and crusty is also the likeliest source of that stale-sock smell.
Every third day sounds like a lot, and for many households it is. A practical shortcut is to tie it to something you already do, such as laundry day or the Sunday sheet change. Distilled water stretches the gap between deep cleans, since there’s less scale to fight. Vacation or a stretch of mild weather? Drain, dry, and don’t leave water sitting in an unused tank.
One last check: the EPA recommends keeping indoor humidity between 30% and 50%. A basic hygrometer on the nightstand will show whether your bedroom needs the humidifier on at all, since above that range you’re feeding mold instead of easing dry air.
Sources : build-construct.com | generalfilters.com